












PPF Adhesive Explained: The Hidden Layer That Makes or Breaks Removal
PPF Adhesive Explained: The Hidden Layer That Makes or Breaks Removal
A PPF adhesive should not win by being the stickiest material in the room. It should hold the film where it belongs, let a trained installer position it properly, and behave responsibly when the film is removed under the stated conditions.
The adhesive is hidden, so it is often ignored in a quote. Yet it decides many of the problems drivers and installers remember: edges lifting, visible adhesive marks during installation, difficult cleanup and residue during removal. It is the third part of the system, alongside the topcoat und base film.
Glue is not a simple on-off switch
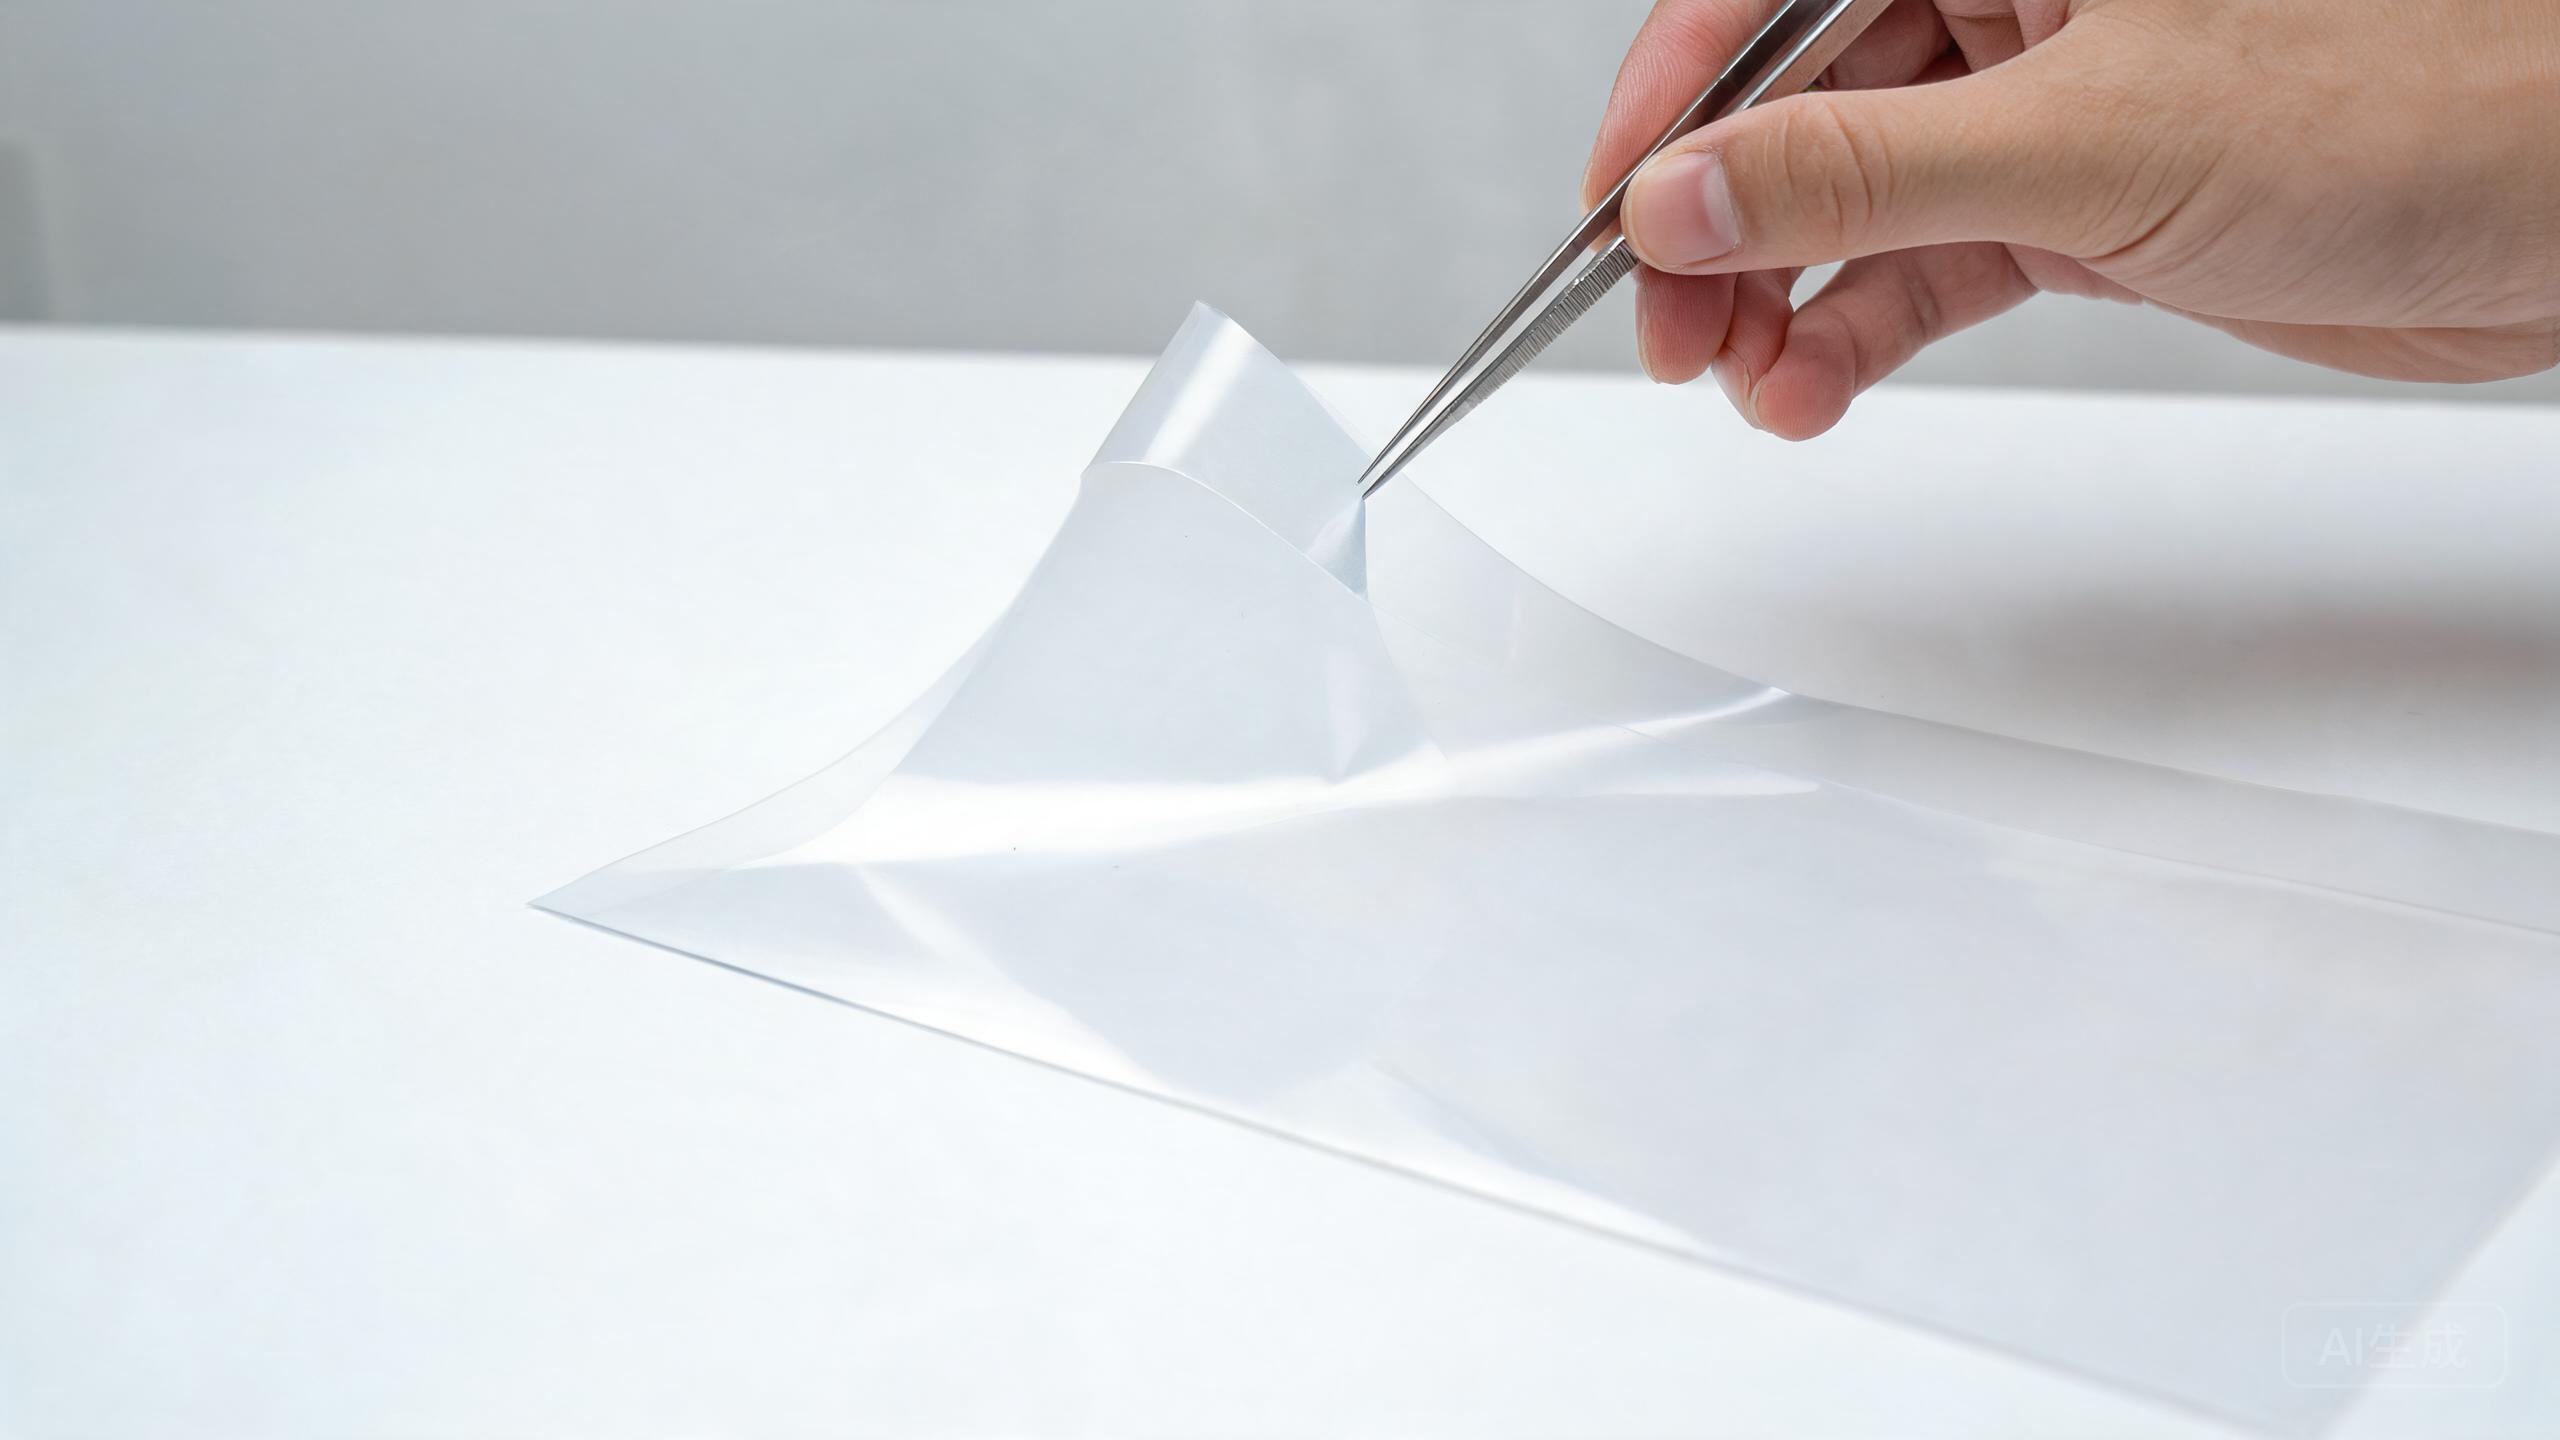
Pressure-sensitive adhesive behaves more like a well-designed reusable note than a nail. It needs enough early grip to hold an edge, enough working time for positioning, and enough long-term holding power for normal service. These properties can pull in different directions.
A very aggressive adhesive may feel reassuring at first because edges grab quickly. But it may make repositioning harder, increase the chance of adhesive disturbance during installation and require more care at removal. A lower or medium-tack approach may be easier to work cleanly, while edge preparation and installer technique become even more important.
PPF adhesive performance is about balance
An adhesive has to manage several jobs at once. Initial tack decides whether a wrapped edge holds when first placed. Holding power determines whether the edge stays closed after time and exposure. Repositioning ability lets the installer align the film without damaging the adhesive layer. Removal behaviour determines whether the system releases cleanly under documented conditions. The result depends on paint condition, surface preparation, temperature, film design and installer method — no single adhesive property can guarantee all of these at once.
Initial tack and holding power are different
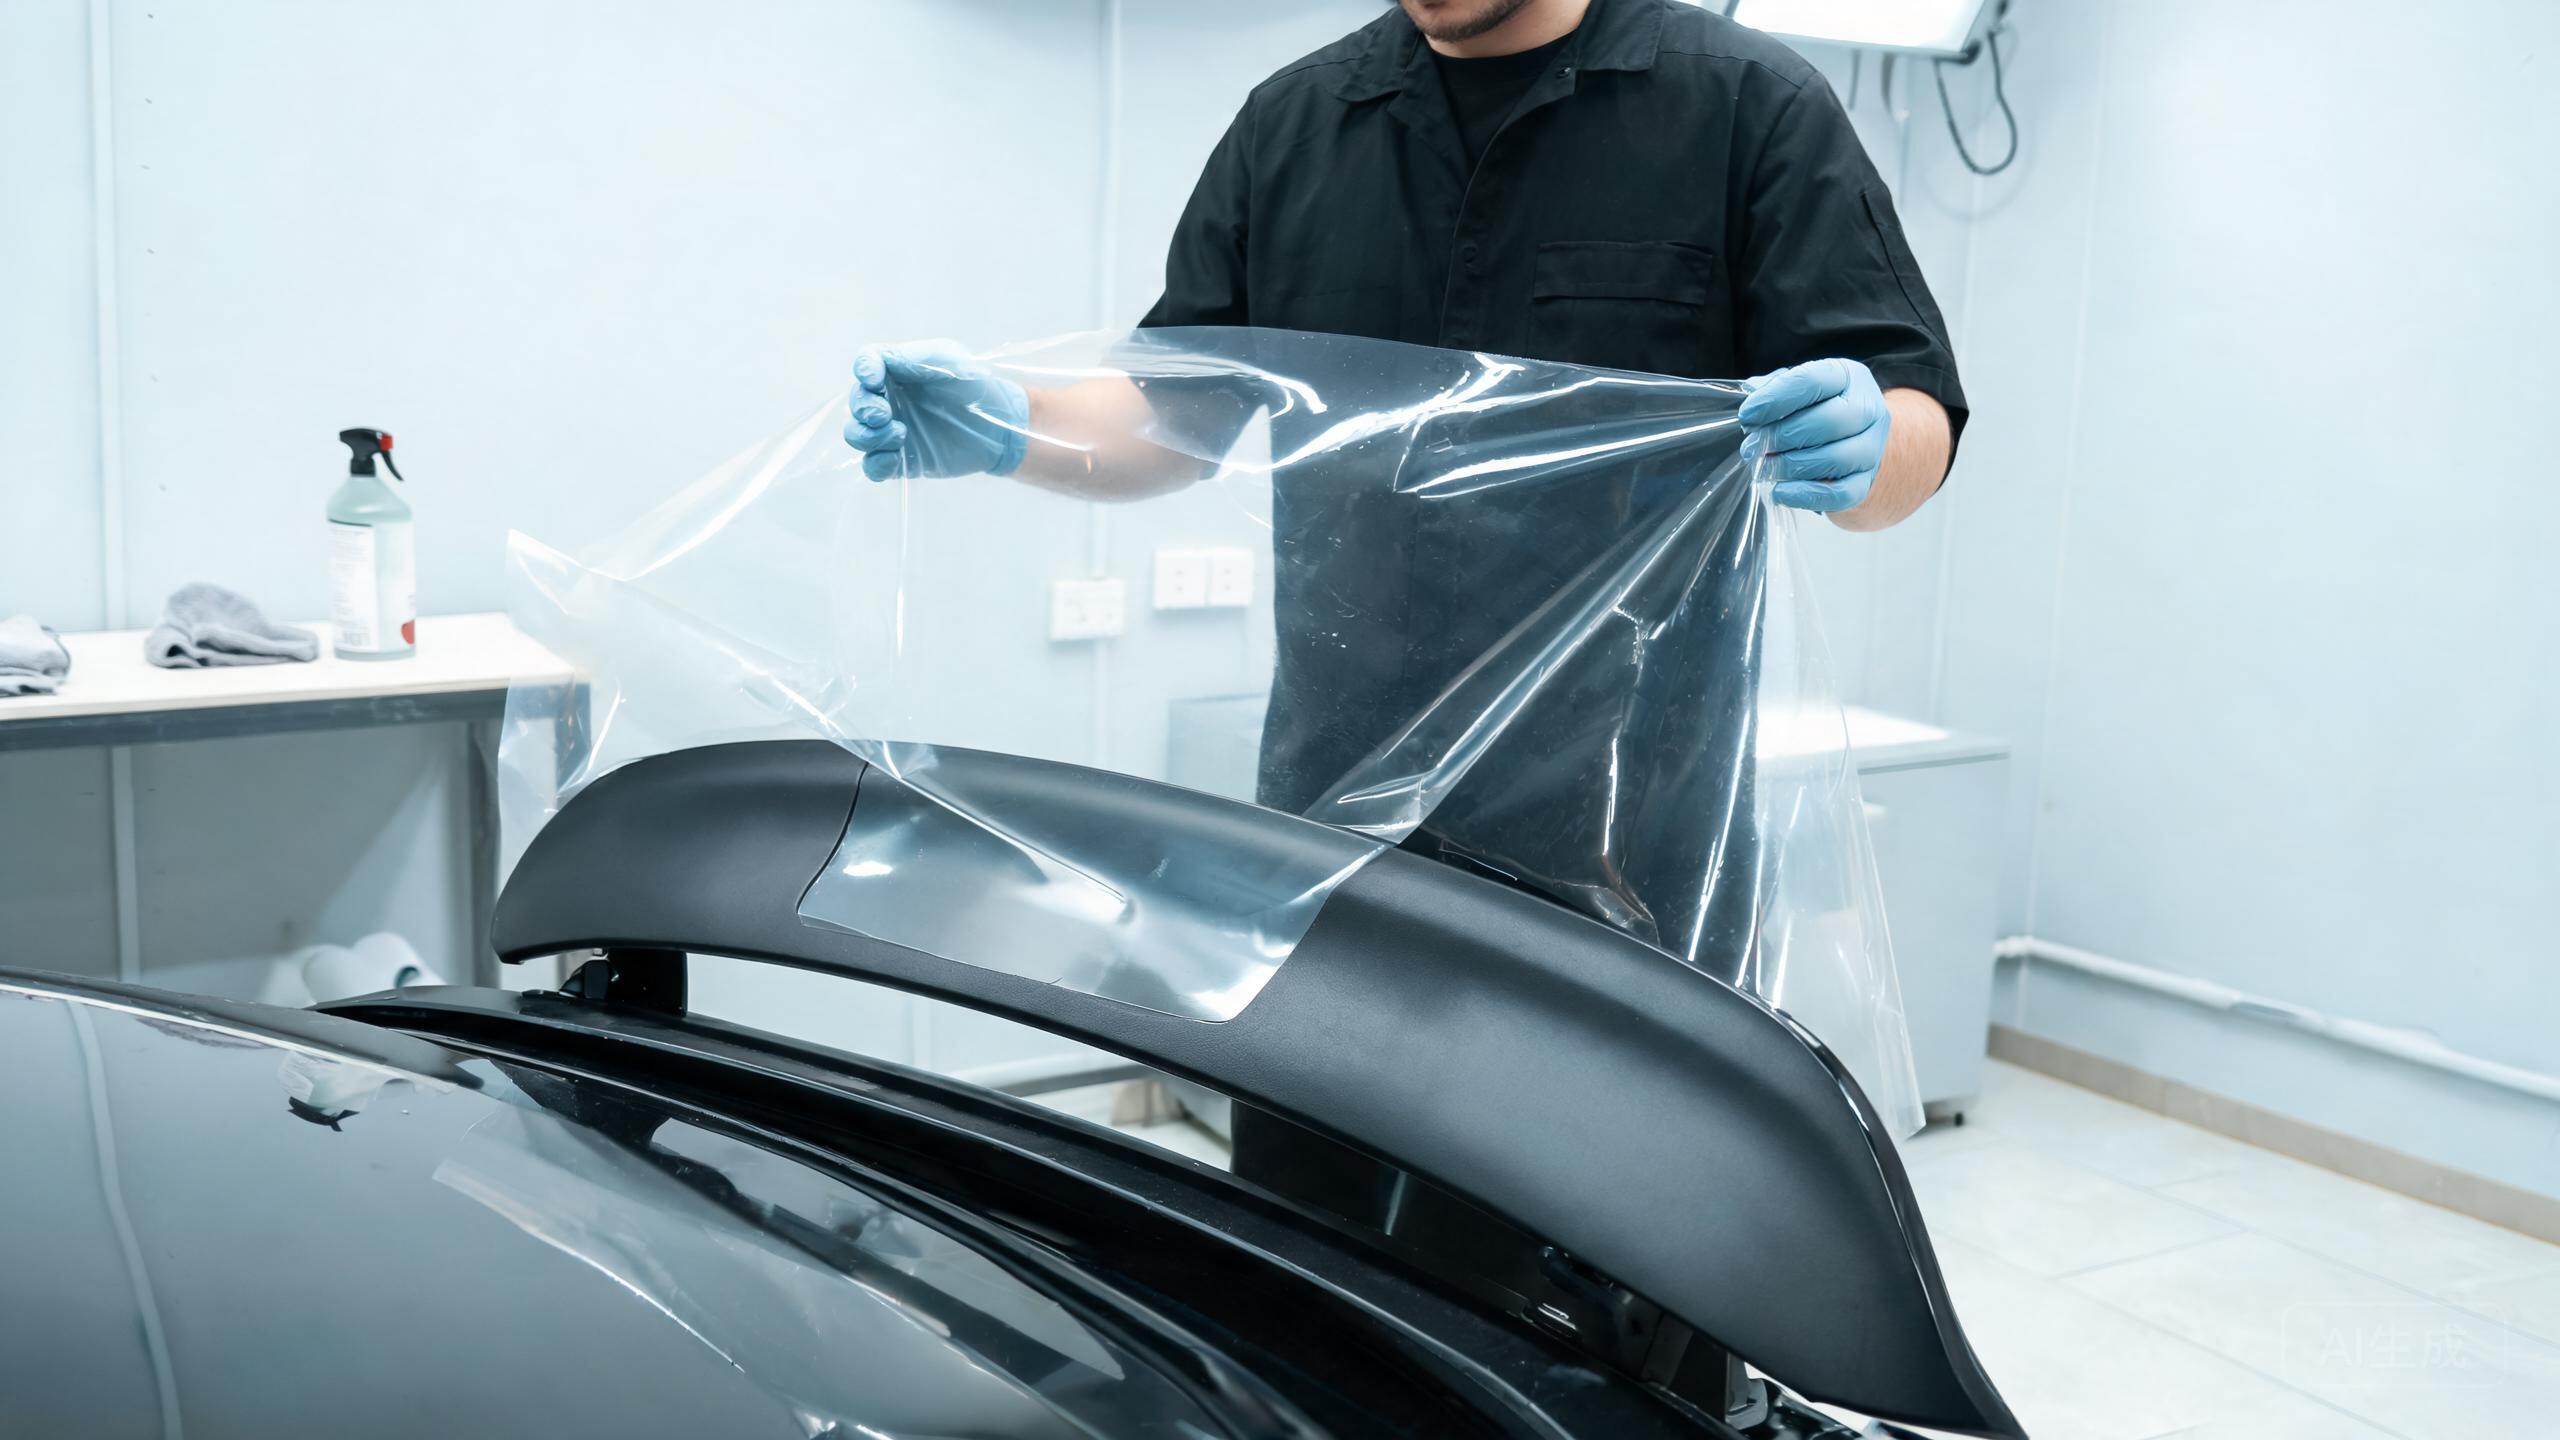
Initial tack is the first handshake. When an installer wraps an edge under a hood or door, the film needs to stay where it is placed. If it releases immediately, the early grip may be insufficient for that application.
Holding power is the promise kept later. An edge can look perfect on installation day and open the next morning if the adhesive system, surface preparation, tension or installation conditions are not right. Calling both issues simply “bad glue” hides the real diagnosis.
This is why an installer should assess the complete situation: original or repainted panel, cleaning process, panel geometry, ambient temperature, film tension and the specified installation method.
The removal question matters before installation
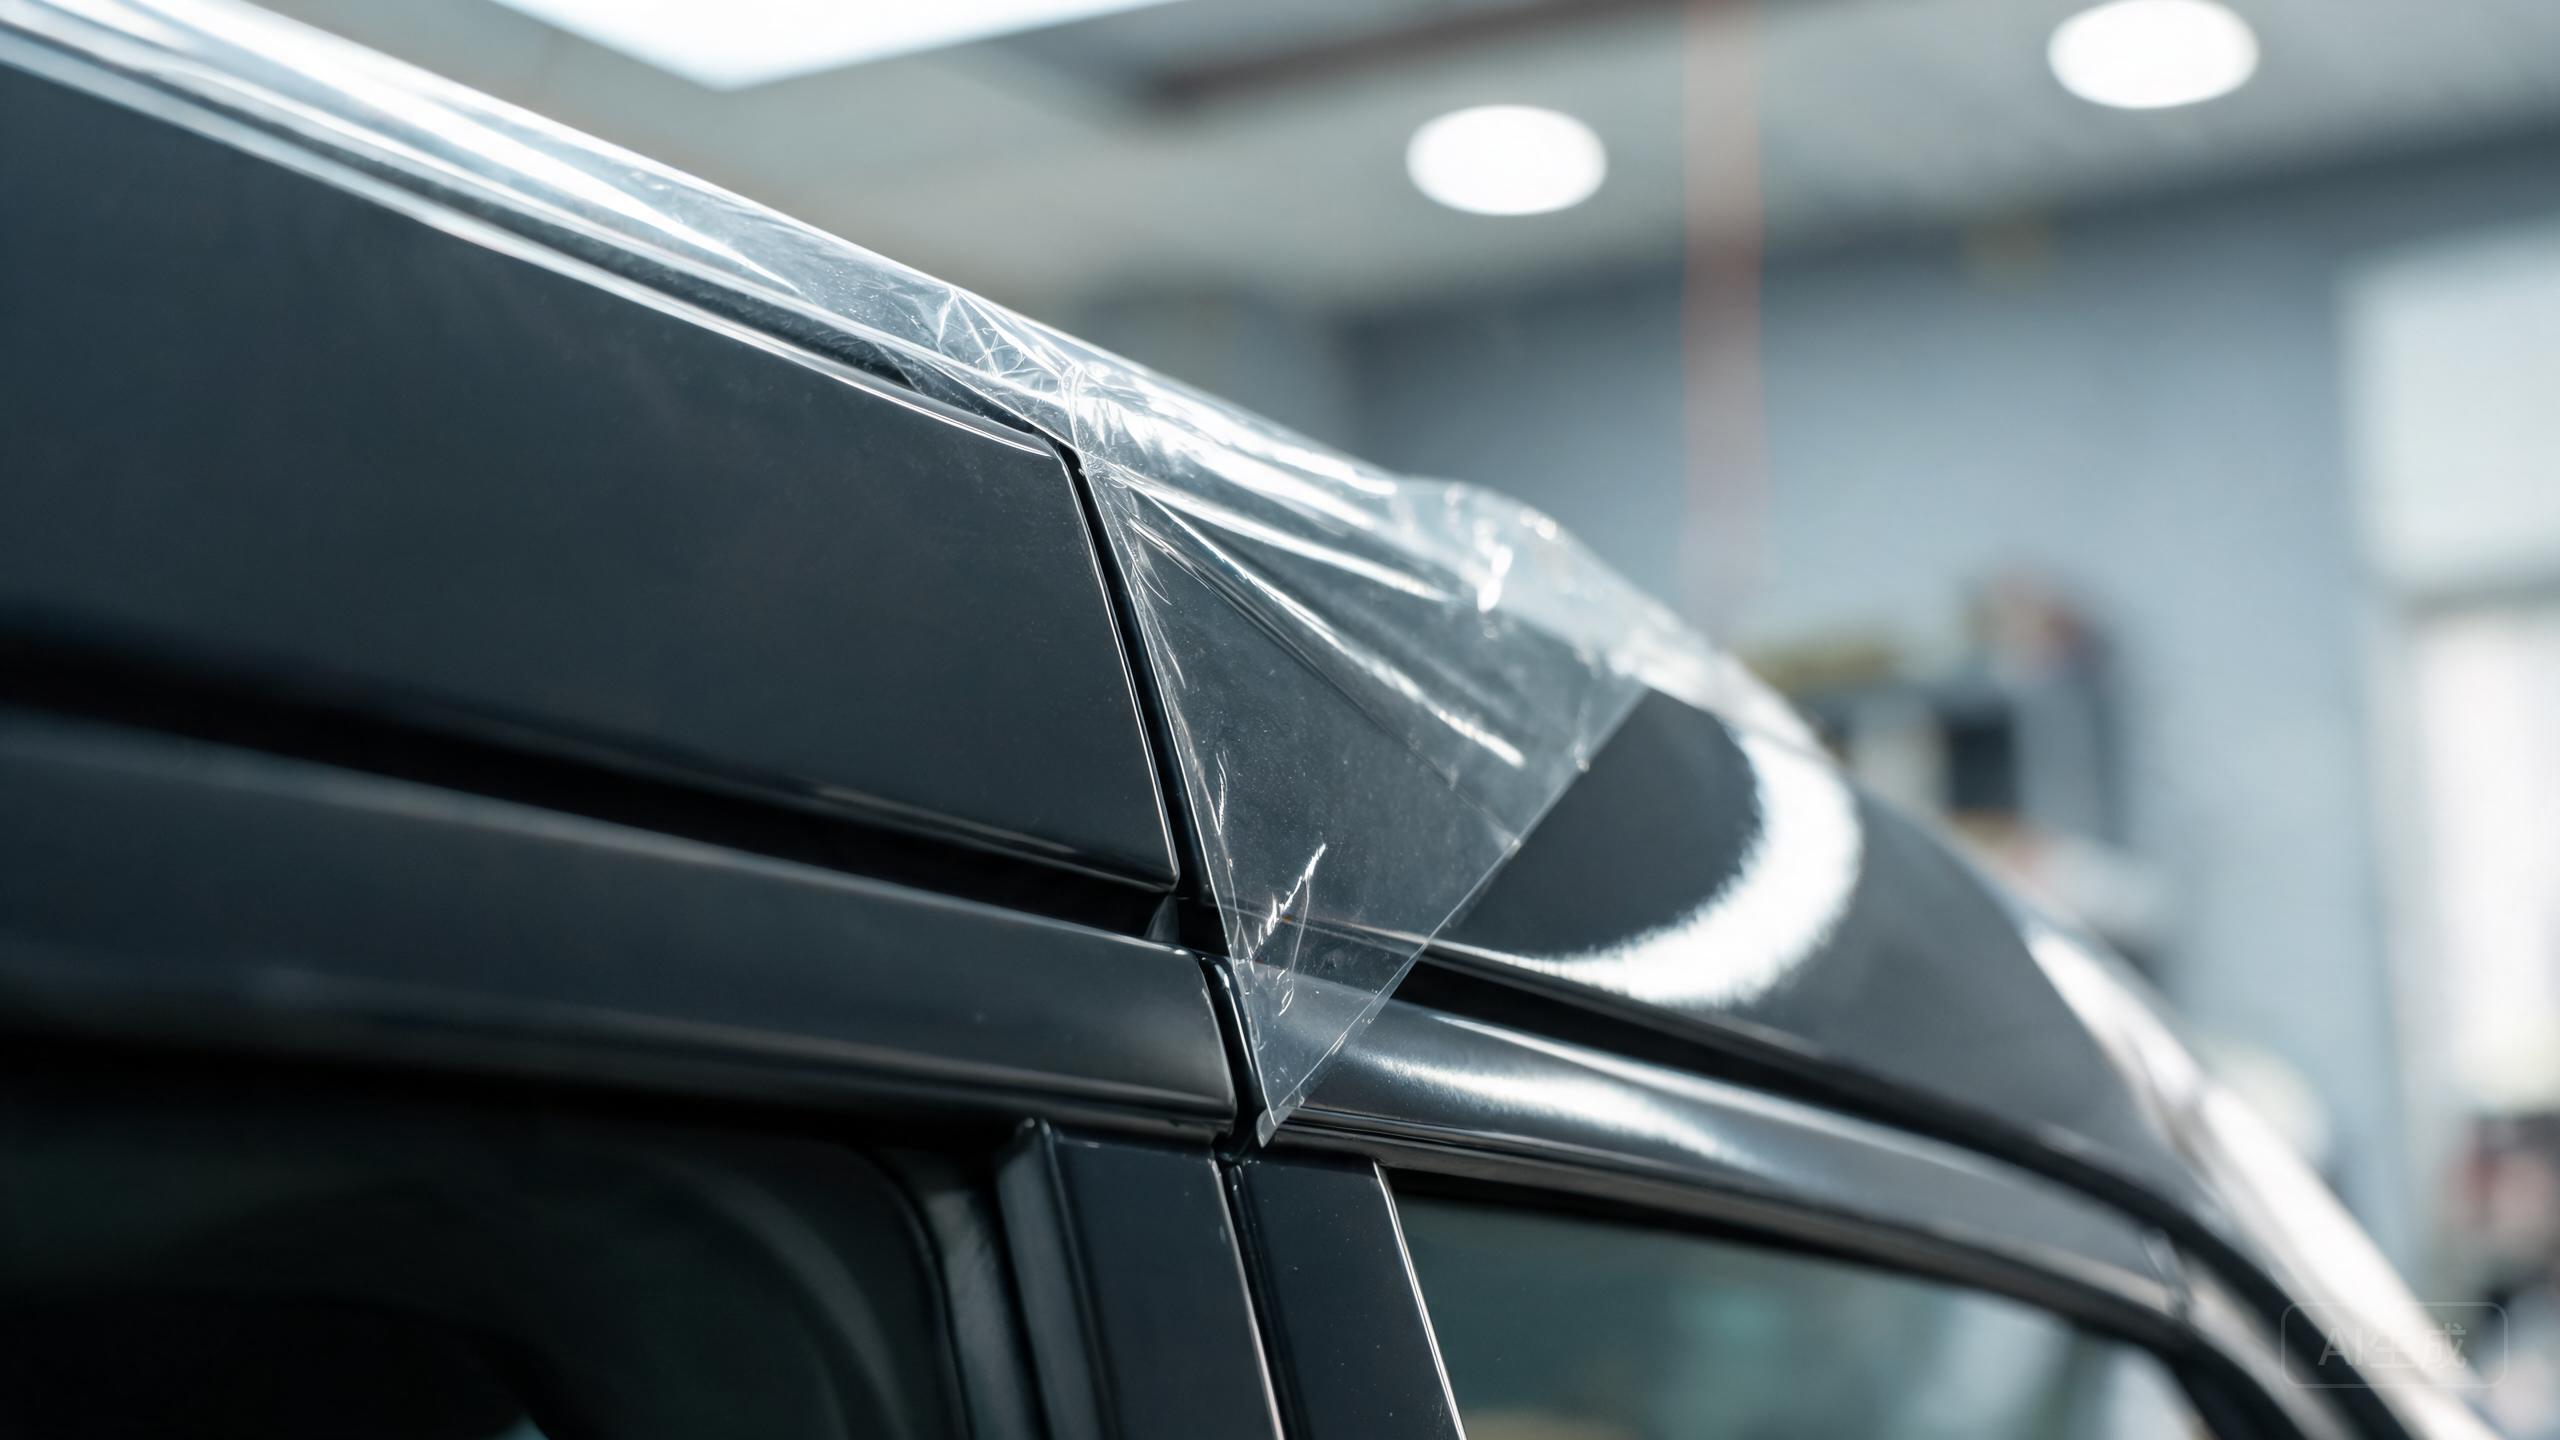
Ask how a film is expected to behave when it is eventually removed. A responsible answer will include conditions: original paint versus repaint, age, climate exposure, maintenance history, removal temperature and technique. No adhesive can erase the risks of compromised paint or unknown repair work.
On sound original paint, a well-matched adhesive system is designed to support controlled installation and removal. That statement should be verified against product documentation and warranty terms rather than treated as a universal guarantee.
Three everyday examples
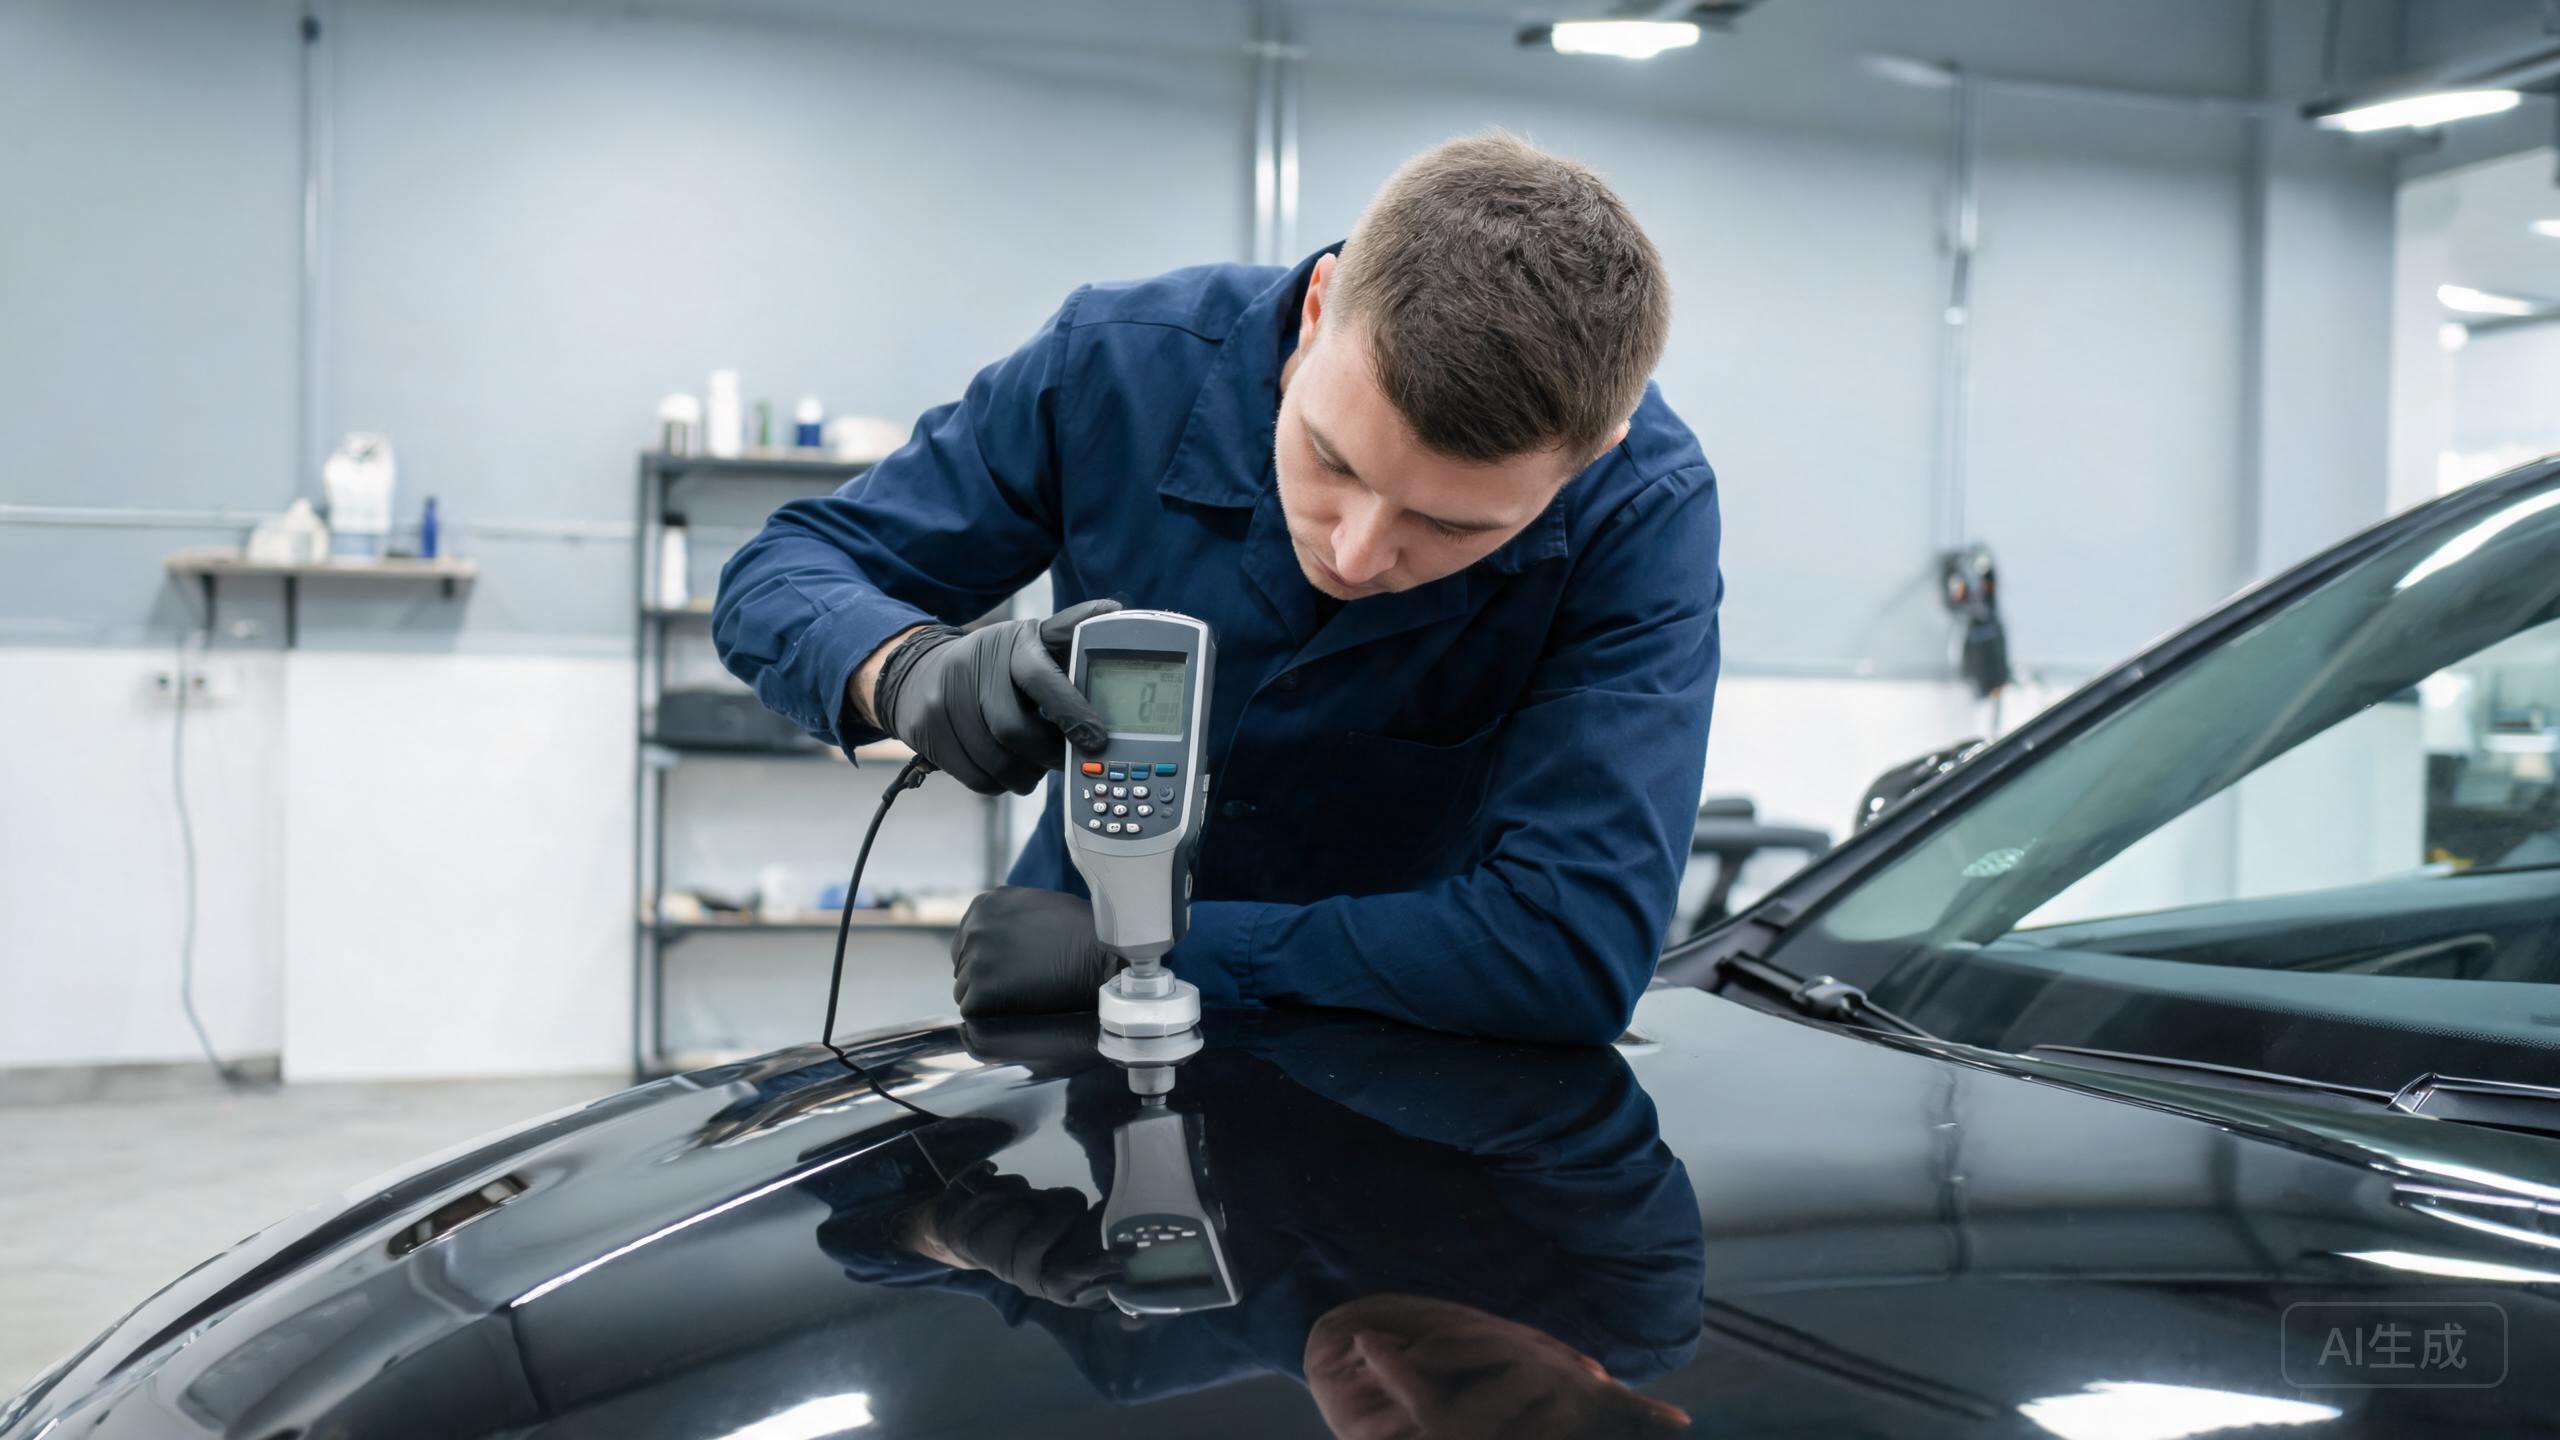
The wrapped hood edge
Wrapping an edge is like folding a bedsheet neatly under a mattress. It needs a clean surface, the right tension and enough early adhesion. More force alone is not the whole solution.
The re-painted bumper
A bumper that has been repainted may have a different bond to the substrate than factory paint. Any adhesive can become a higher-risk removal situation when the paint system itself is weak or poorly cured.
The rushed installation
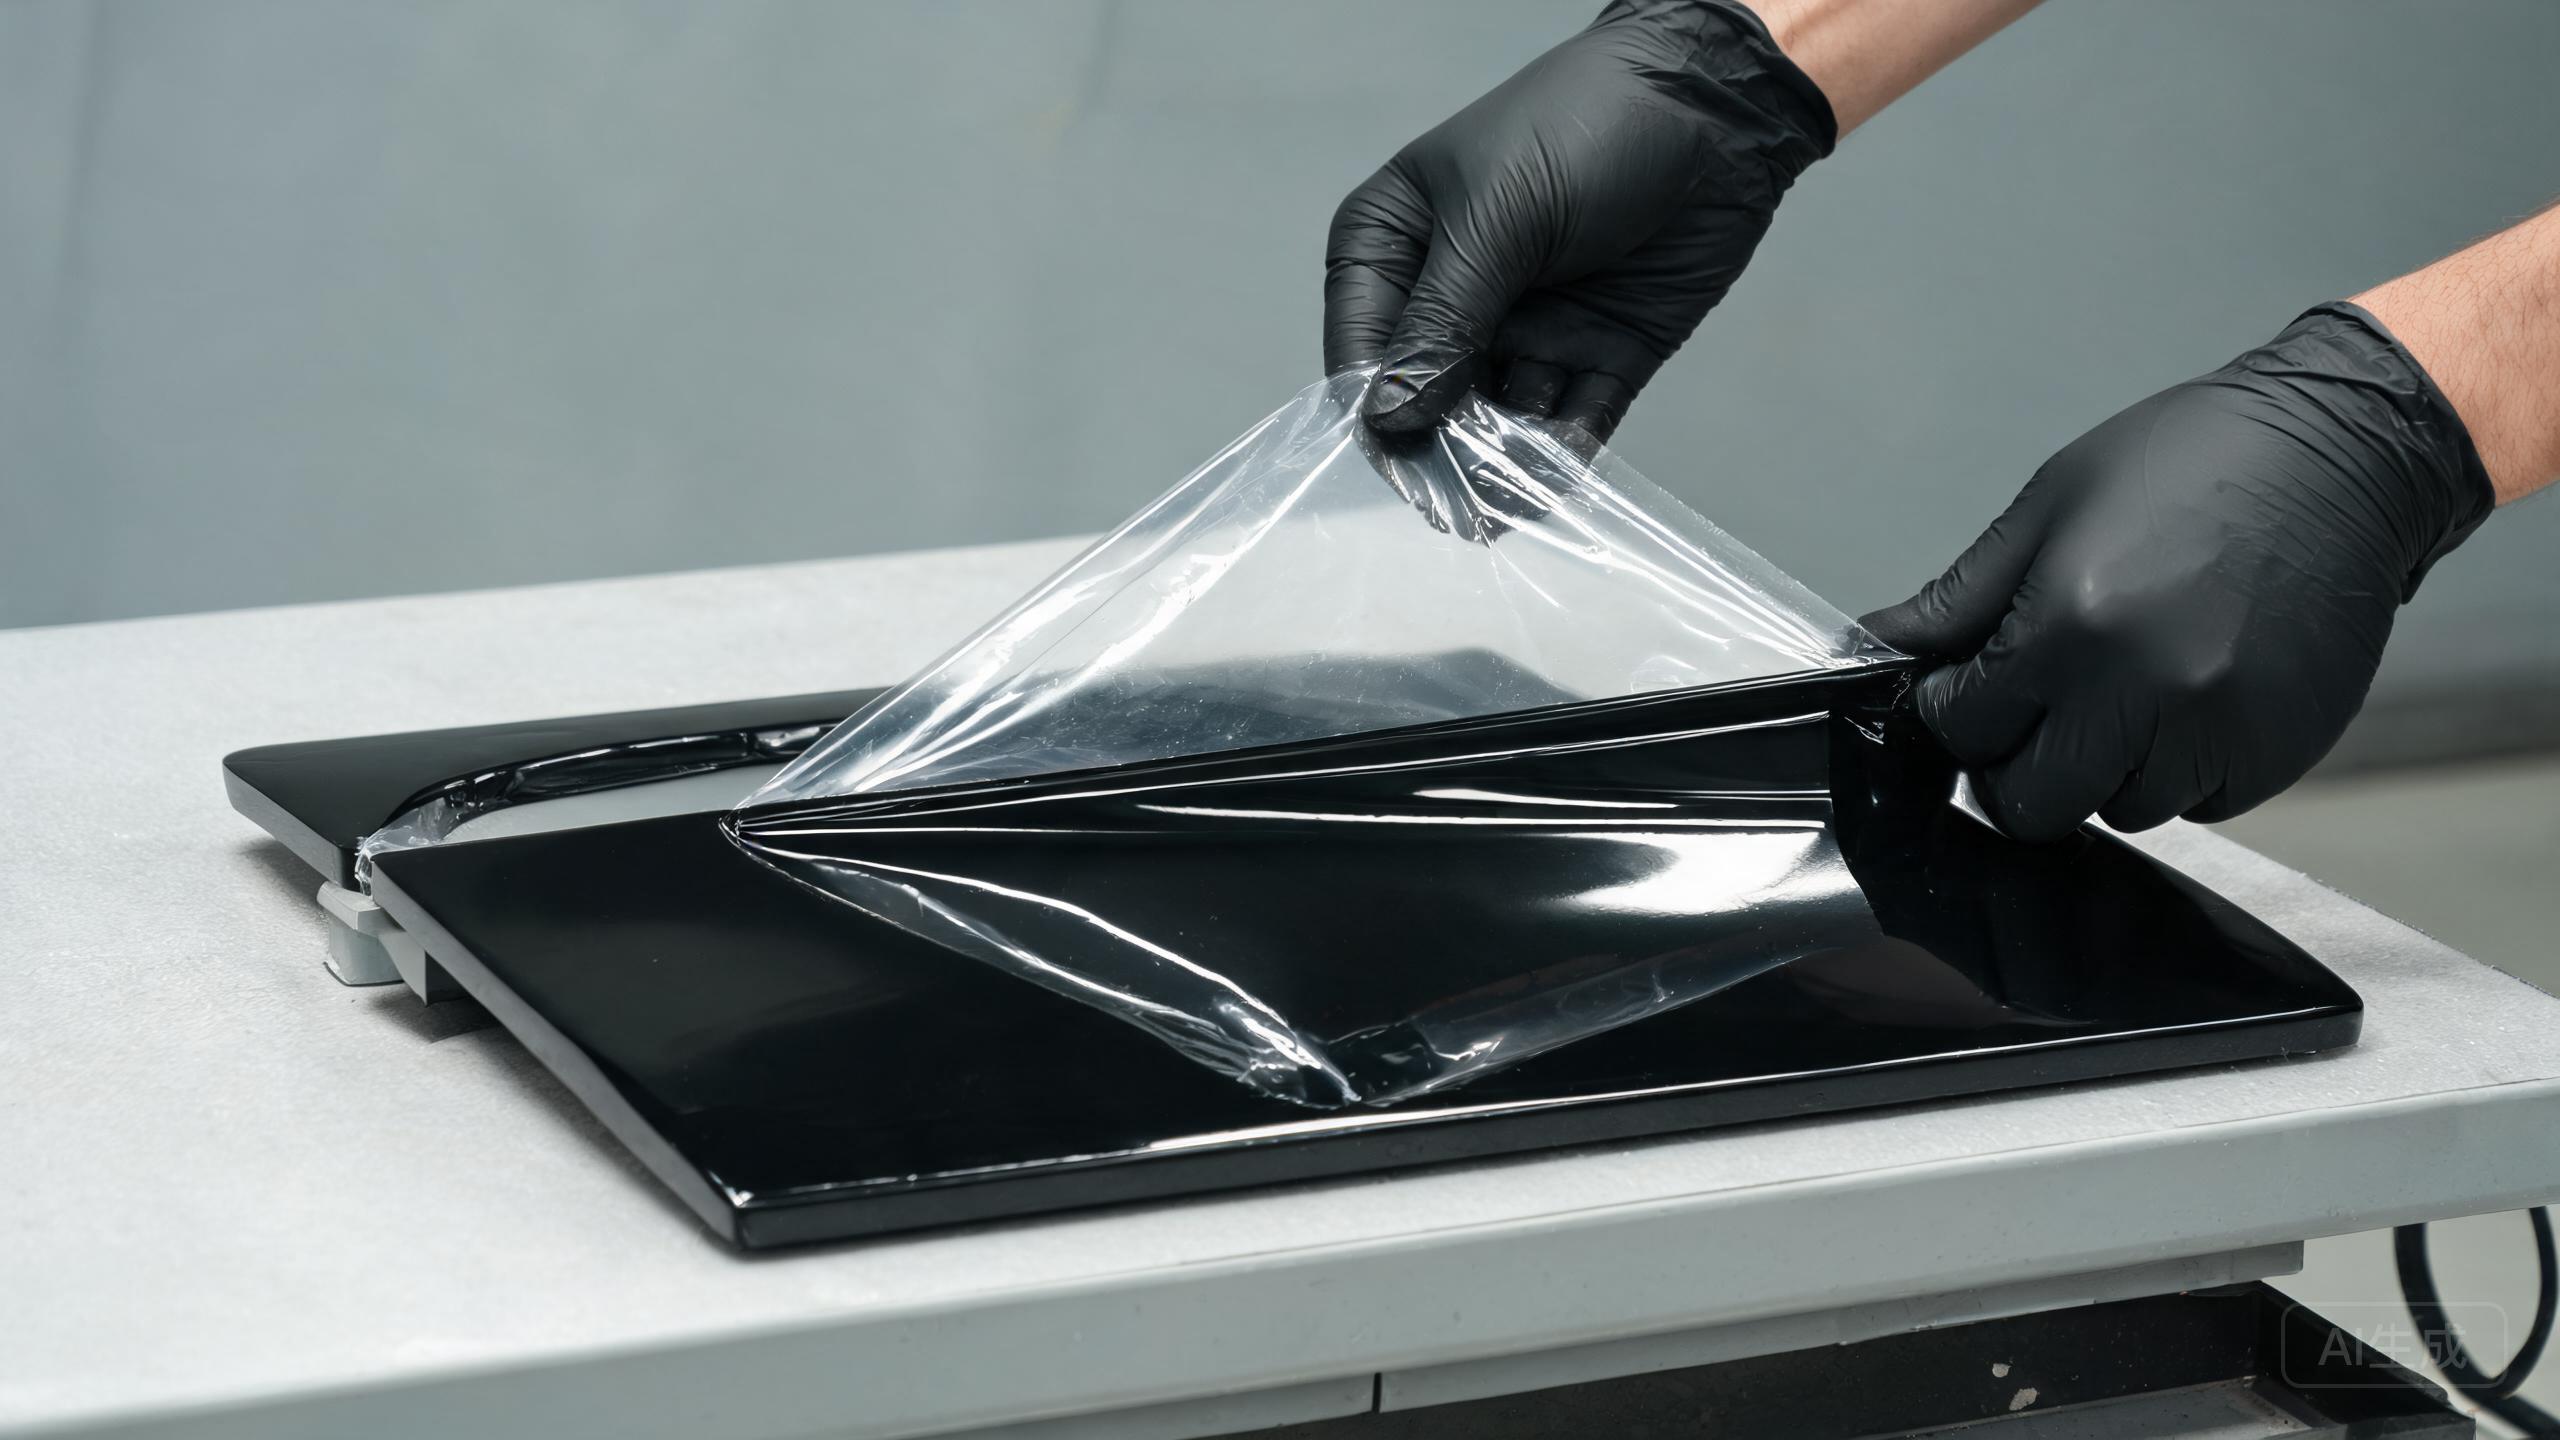
Trying to move film repeatedly after it has begun to settle can disturb the adhesive layer. A good adhesive helps, but correct working time and installer discipline still matter.
What to ask before choosing a film
| Question | What it reveals |
|---|---|
| How does the product handle edge wraps? | Whether initial tack and installation guidance match the vehicle geometry. |
| What is the recommended repositioning process? | How the adhesive is intended to be handled while fitting. |
| What are the removal conditions? | Whether the supplier recognizes paint, age and temperature variables. |
| Is the paint original or repaired? | Whether removal risk needs extra discussion before work begins. |
| What does the warranty actually cover? | Whether edge lift, residue and paint-risk boundaries are stated clearly. |
The adhesive needs the other two layers
Adhesive performance is not isolated from the rest of the film. A stable PPF construction balances the adhesive with a compatible base film and a durable topcoat. That is why the same adhesive label can behave differently when paired with a different film construction.
FAQ
Is higher tack always better for PPF?
No. Higher tack may help some edge situations, but it can reduce working flexibility and may change installation and removal behaviour. The intended balance matters more than a single label.
Will PPF always remove without residue?
No universal promise is responsible. Results depend on the product, stated service period, paint condition, climate exposure, installation quality and removal method.
Why does an edge lift after looking fine at first?
Possible reasons include insufficient holding power, contamination, tension, difficult geometry, temperature or application method. The full installation context should be assessed.
Image brief: 7 future visuals
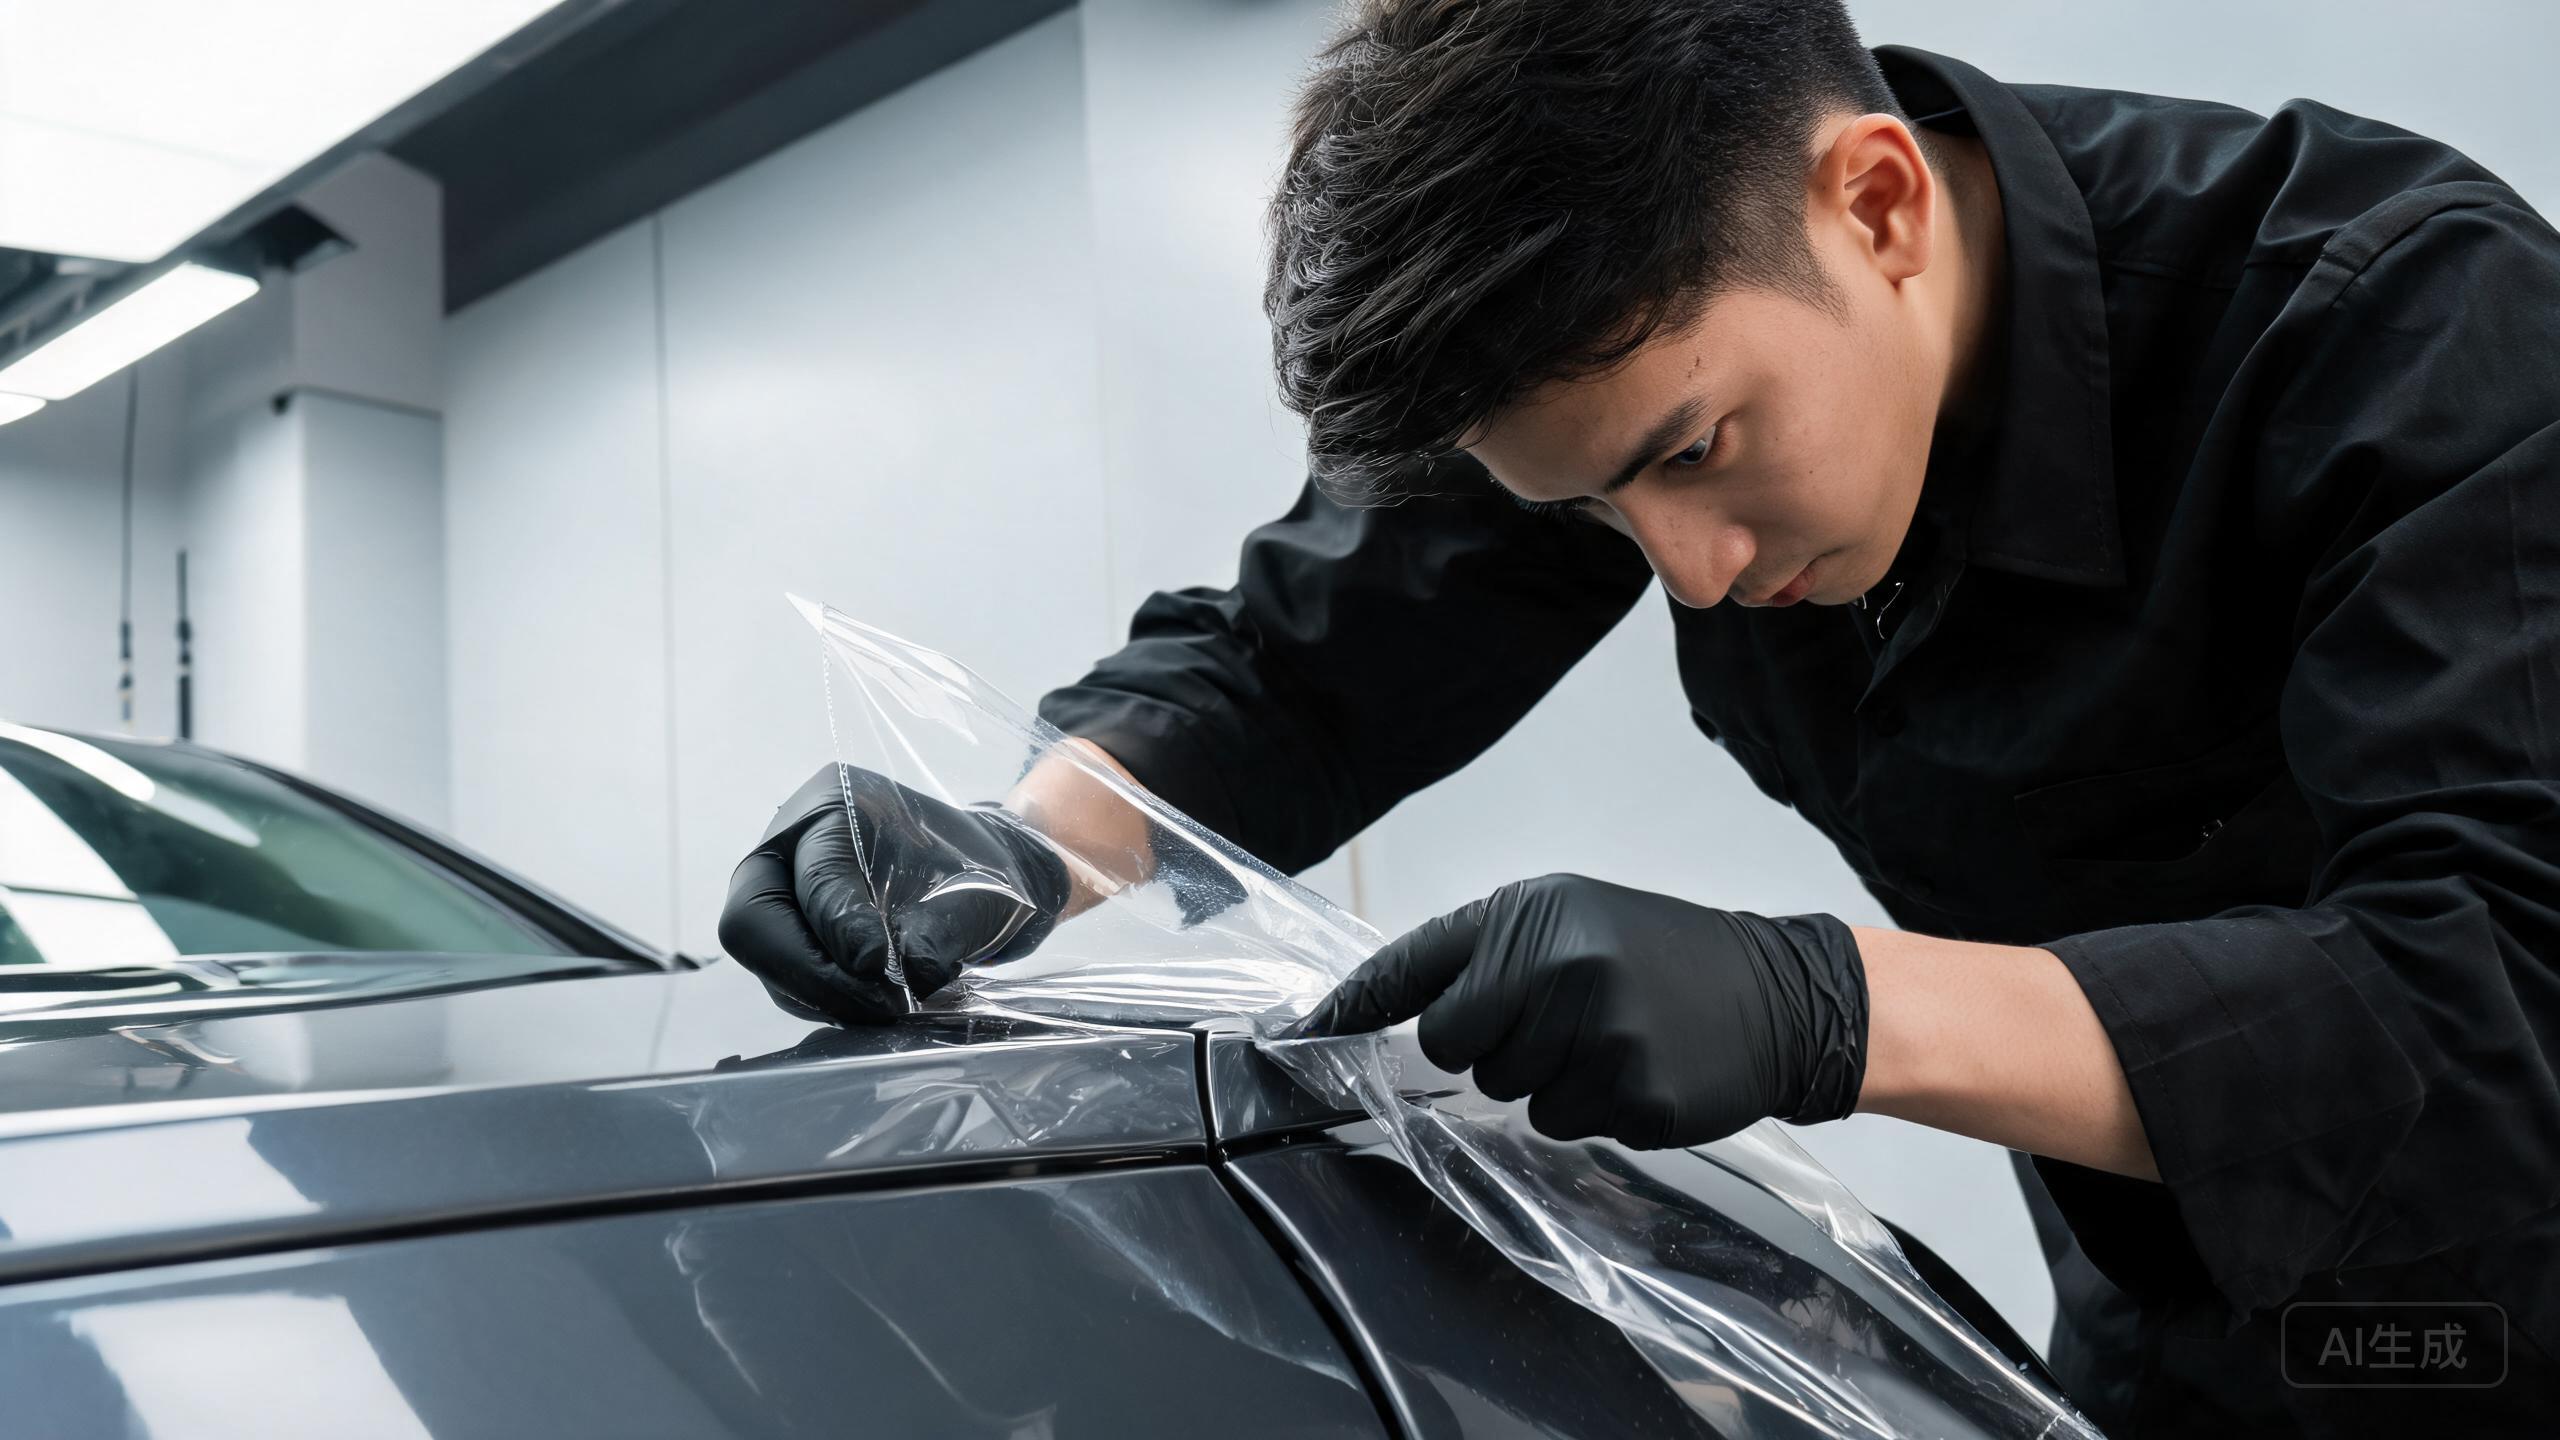
- Hero: Installer wrapping transparent PPF around the inside edge of an SUV hood, close over-the-shoulder view, precise hands and clean workshop, no logos. Alt: Installer wrapping clear PPF around a vehicle hood edge.
- Adhesive layer: Macro studio image of clear film gently lifted to reveal a thin transparent adhesive underside above a painted test panel, no text. Alt: Clear PPF lifted slightly to show its transparent adhesive layer.
- Repositioning: Installer carefully aligning wet PPF on a curved front bumper before final squeegee passes, wide realistic workshop scene. Alt: Installer aligning PPF on a curved bumper before final placement.
- Edge hold: Tight close-up of a neatly wrapped door edge with transparent film tucked inside, warm workshop light, no branding. Alt: Neatly wrapped PPF edge tucked inside a vehicle door panel.
- Paint condition: Technician inspecting original paint and a repaired panel with a soft inspection lamp before PPF installation, documentary style. Alt: Technician checking paint condition before protective film installation.
- Removal process: Installer using controlled heat while lifting a transparent PPF section from a painted test door, careful non-dramatic composition. Alt: Controlled removal of clear PPF from a painted test panel.
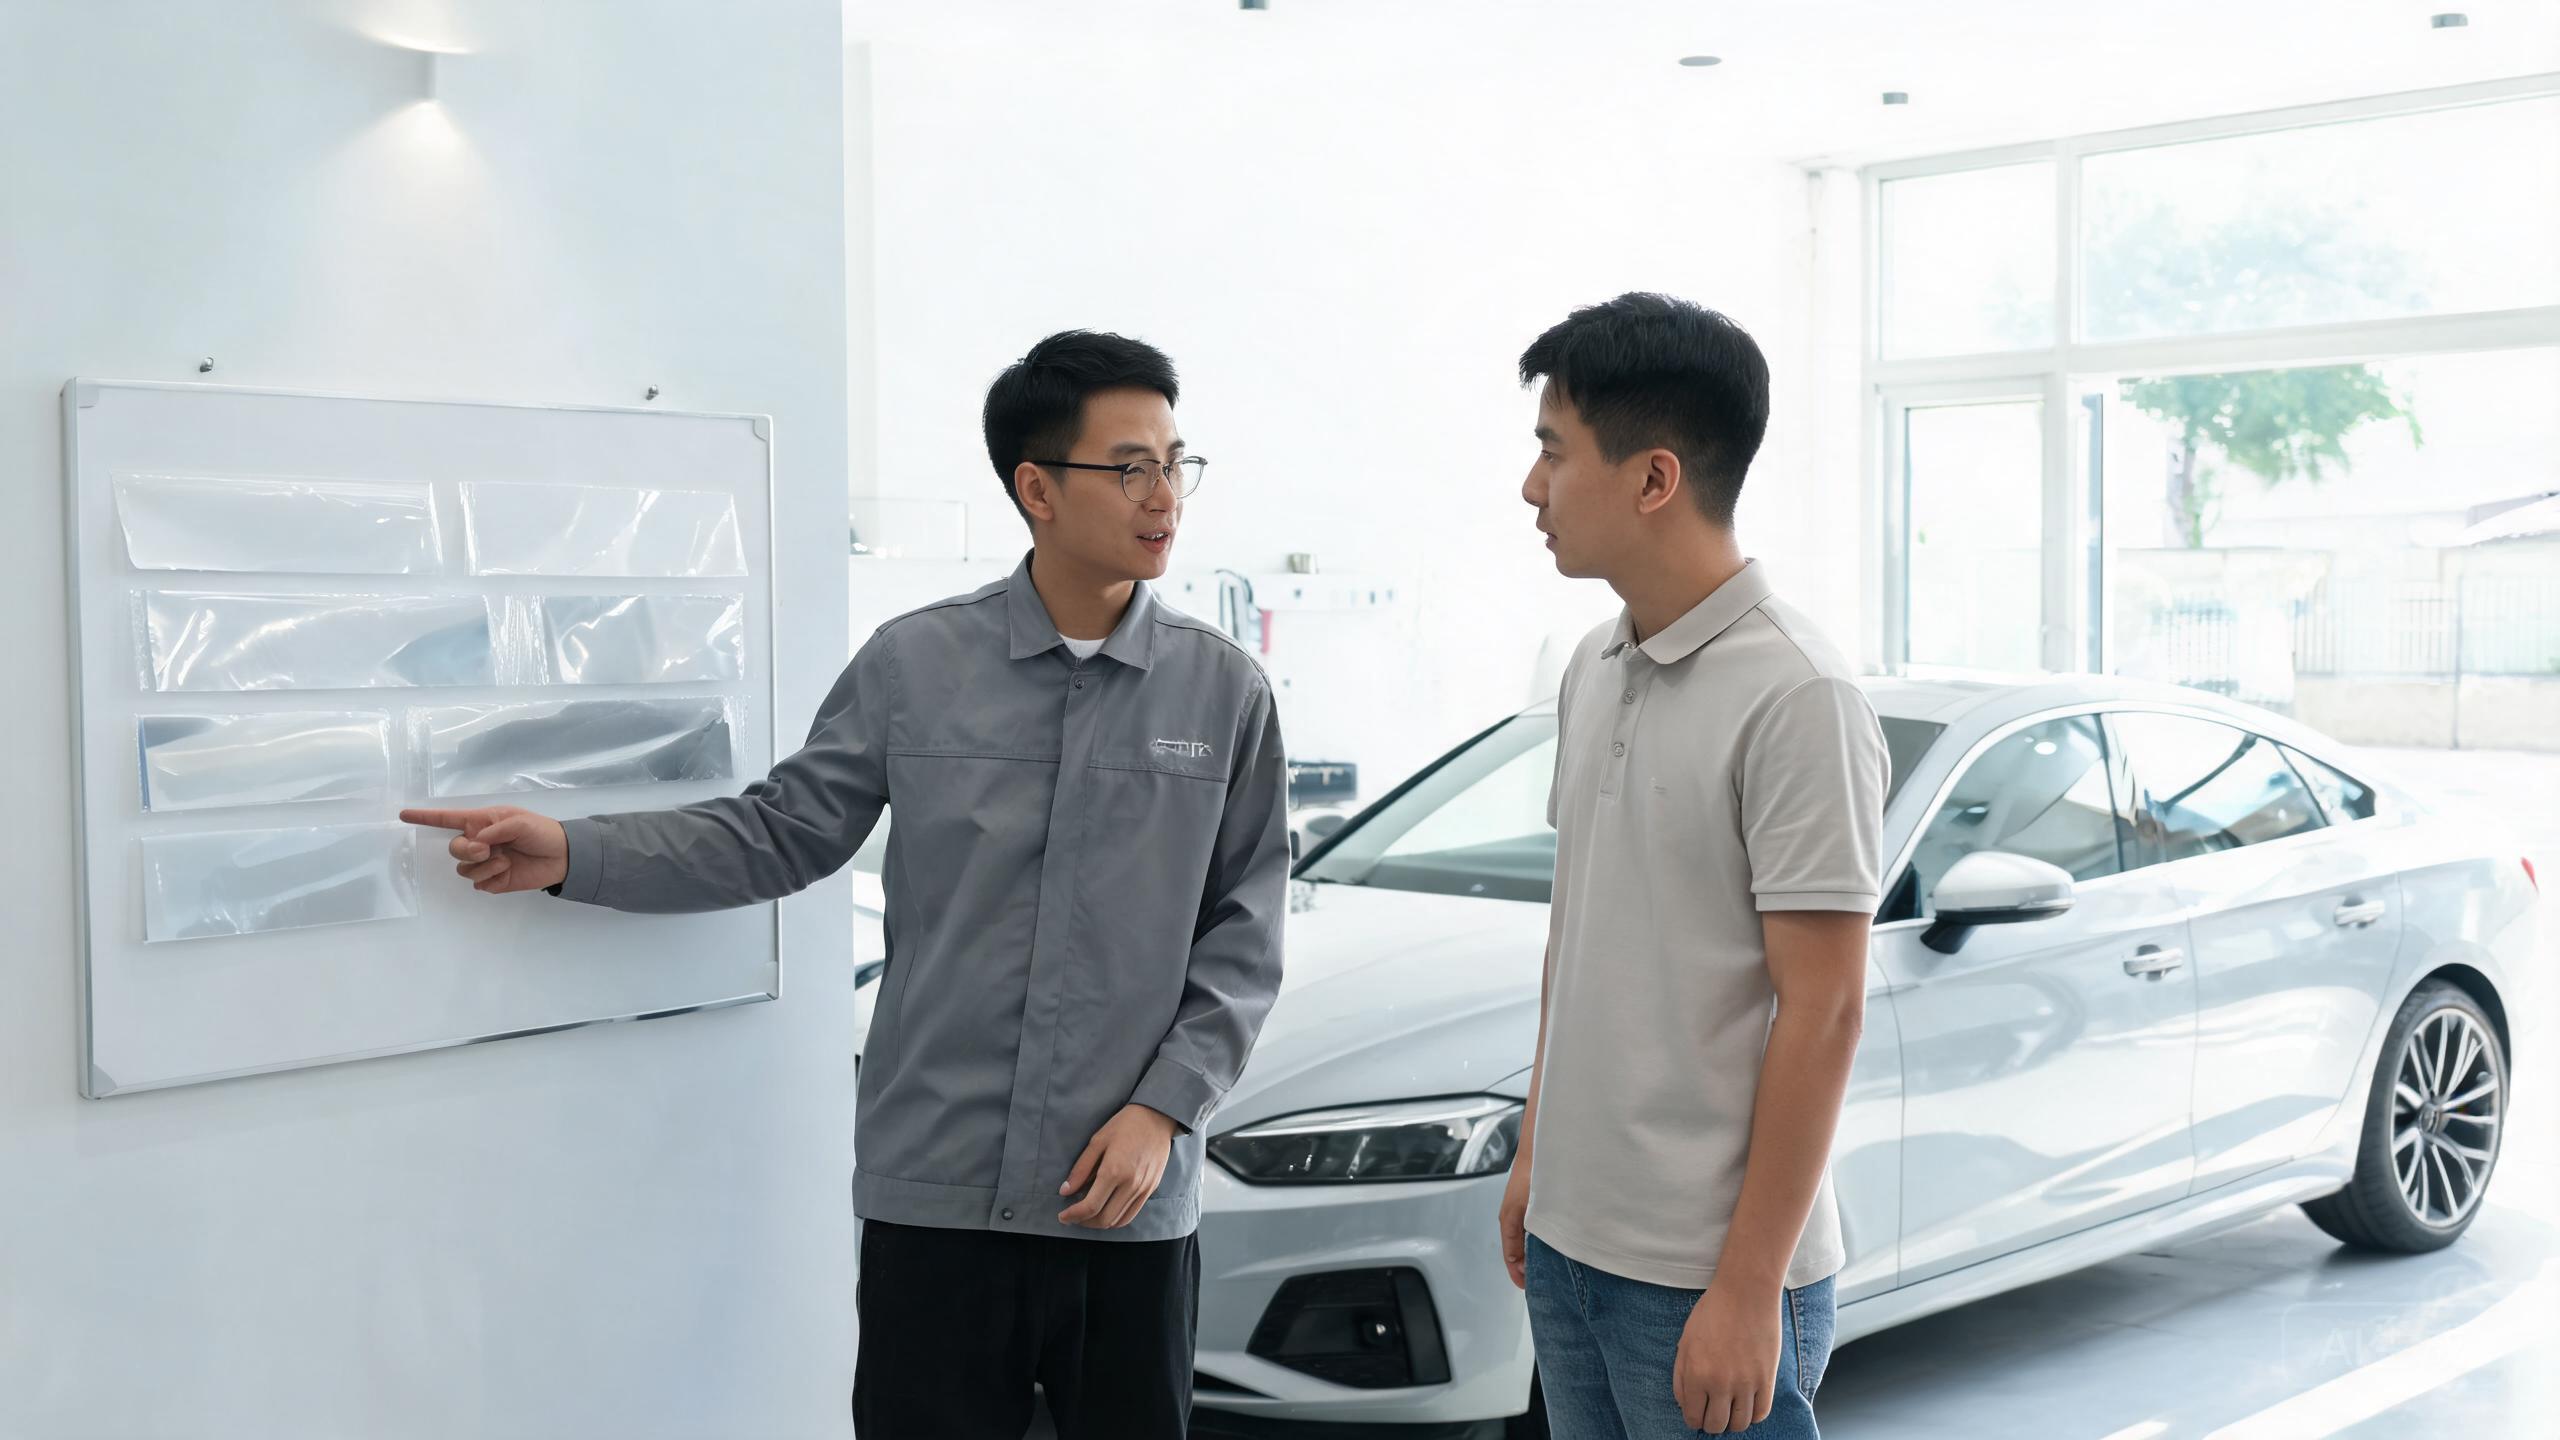
- Consultation: Installer explaining film samples and edge-wrap options to a car owner beside an unbranded sedan, natural daylight. Alt: Installer explaining PPF adhesive and edge-wrap options to a vehicle owner.